 Vanda Engine
Part 1: Modeling the Worm
Introduction
In this tutorial we create a simple earthworm model, rig, animate, texture, and export it. This is nearly the entire 3d modelling and animation pipeline. No one step is very complicated, but there are a lot of steps and details to learn about. If you are having difficulties be sure to complete the previous tutorials.
We begin by modelling the mesh in blender. The mesh is the geometry of the 3d model. Combined with the texture, this is the way our object statically appears before animation. In order to animate an object with multiple parts, suchs as a humanoid model with arms and legs, we create an armature to help use control the way the geometry is moving. This is also sometimes called a skeleton, and acts much the same way a skeleton does in real animals. We use the armature to animate the object, by positioning it and taking snapshots of where it should be called keyframes.
There is a lot to learn about every one of these steps, and some people only ever work on one step for most of their careers. By learning all of the parts of the pipeline in brief you will find it easier to pick them up later if you have to. It will also give you a better idea of what your teammates are up to and where they coming from.
Modeling the Worm
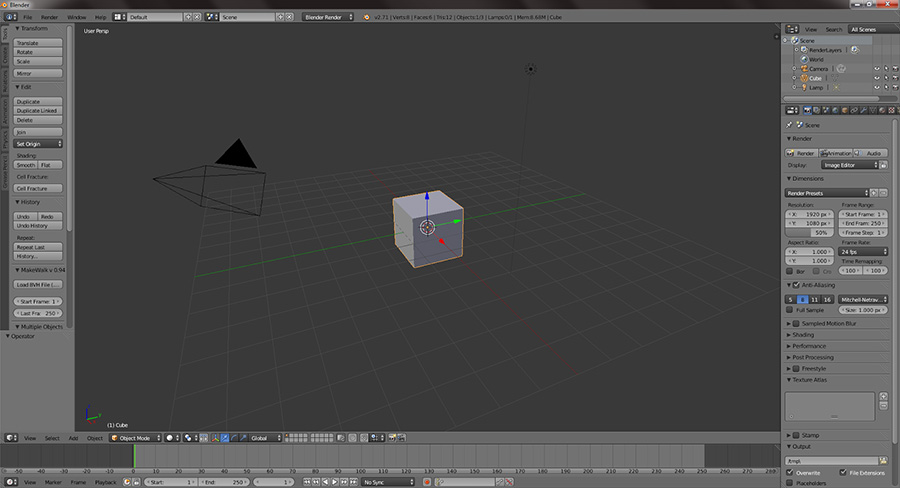
The default startup file
Delete the default cube. Add a cylinder to the scene, set it’s radius to 0.25 and it’s X rotation to 90.
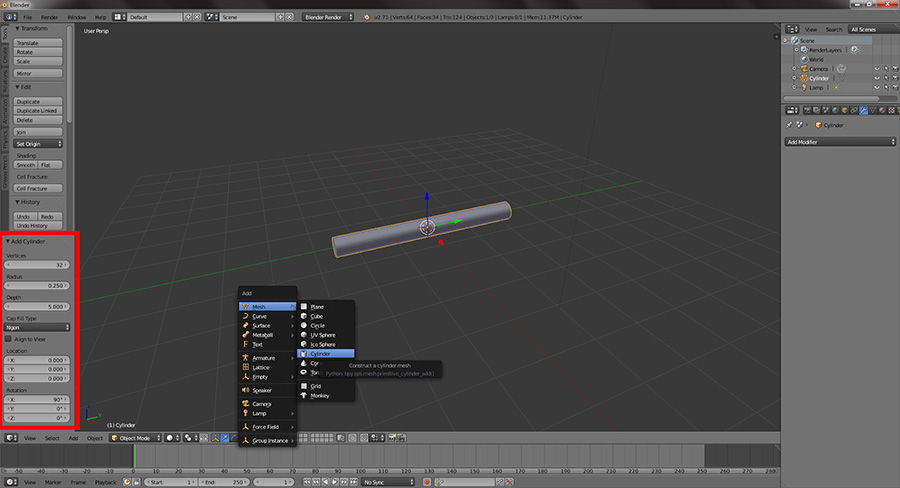
Adding a cylinder
Add a Subdivision Surface modifier to the cylinder. Set the Sudvisions View to 3. Set Shading to Smooth.
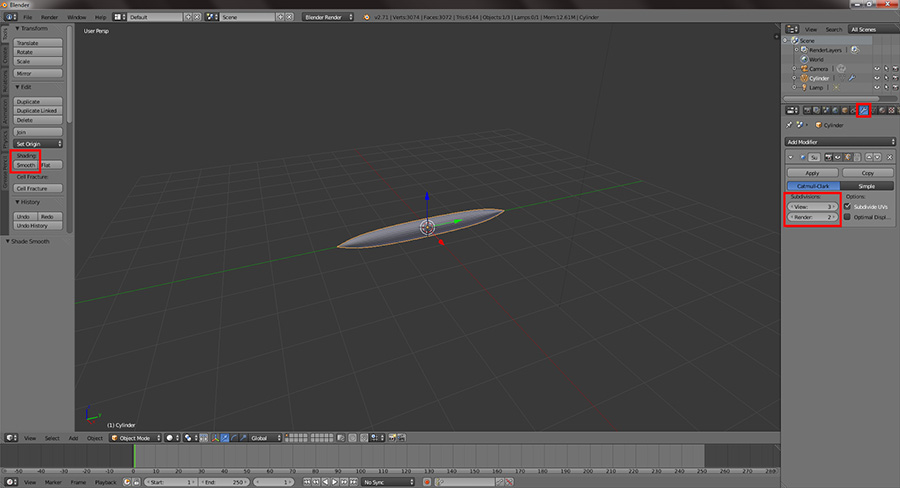
Subsurface modifier settings
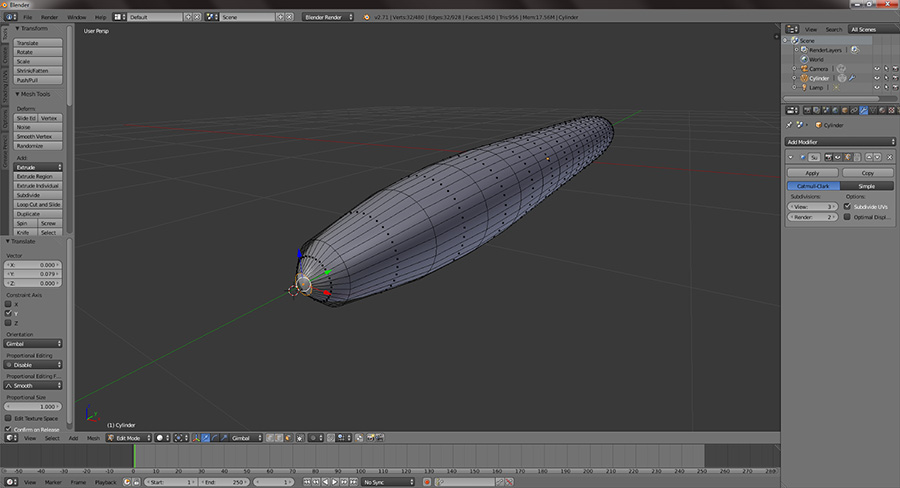
Press tab to enter edit mode. Press Ctrl-R to add a loop cut and set the number of cuts to 12.
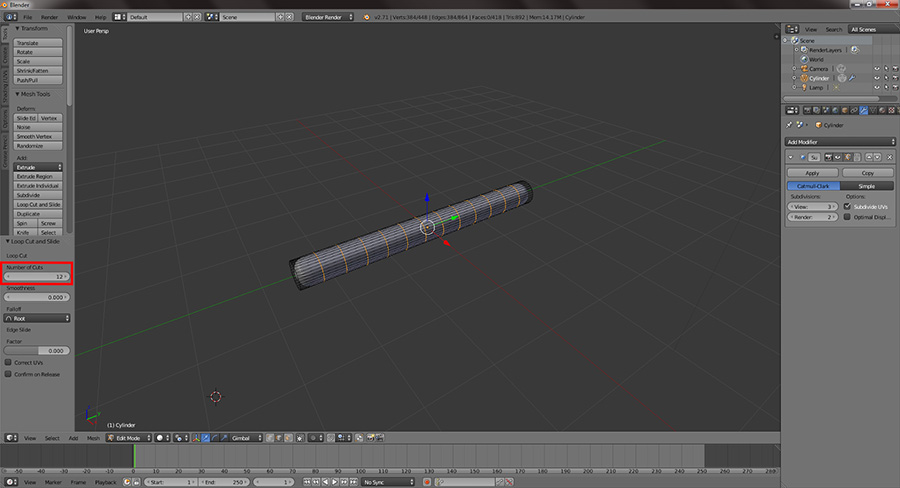
Adding loop cuts
While in Edge select mode Alt-Click on the end rings and hit S to scale them down. Scale down the outer three edge rings on each side to create a tapered effect.
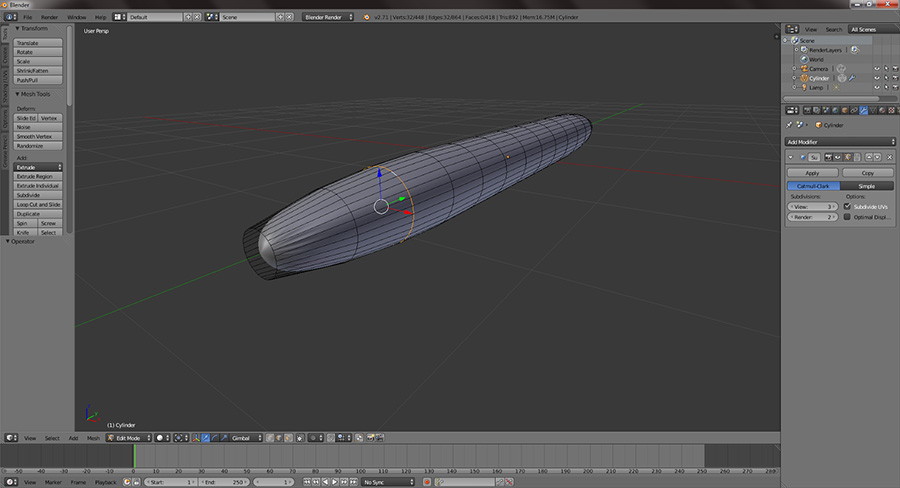
Tapering the ends
To reduce the pinching on the ends, enter Face Select mode and select the face on the end. Hit I to Inset the face. Then select the inner face that was created and pull it out slightly to round the end. Do this for the other end as well.
Inserting to hide the pinching
To make the worm less plain, lets add that characteristic bump earthworms have. In Face select mode, Alt-Click a face on the middle back of the worm. Hit E and left click without moving the mouse. Hit S and scale the bump up a bit, about 1.3 times on each axis. In the resize panel on the left, click the X and Z constraints check boxes.
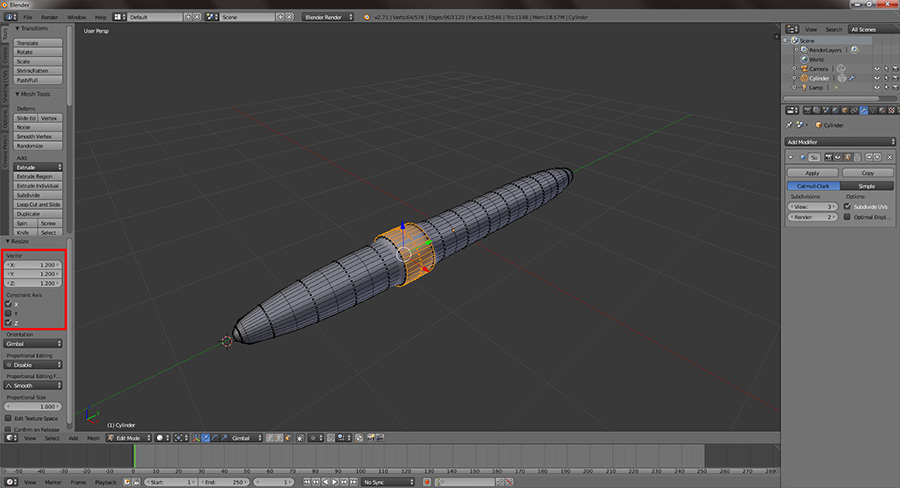
Creating the bump
The Author

Patrick Manhatton (macklehatton@gmail.com)
Patrick is an independent game designer interested in absolutely every aspect of making games. He does a little of everything involved in game development and a lot of conceptual design and 3d modelling. He is currently studying computer science and psychology and hopes work in research using games.
(c) copyright Zehne Ziba Co., Ltd. For more information, please refer to copyright notice.