 Vanda Engine
Part 2: Creating the Armature
We will need to position the bones we add inside the worm mesh. Press Z to enter Wireframe View. Because of the Subsurf modifier we added before the mesh is still too dense to see through. Let’s disable the modifier in the Viewport for now. Press 7 on the Numpad to view your mesh from above.

Wireframe view from the top
Select the worm mesh. Press Shift-S and select Cursor to Selected. Press Shift-A to and select Armature -> Single Bone. In the Add Armature panel on the left, set the bones X rotation to -90.
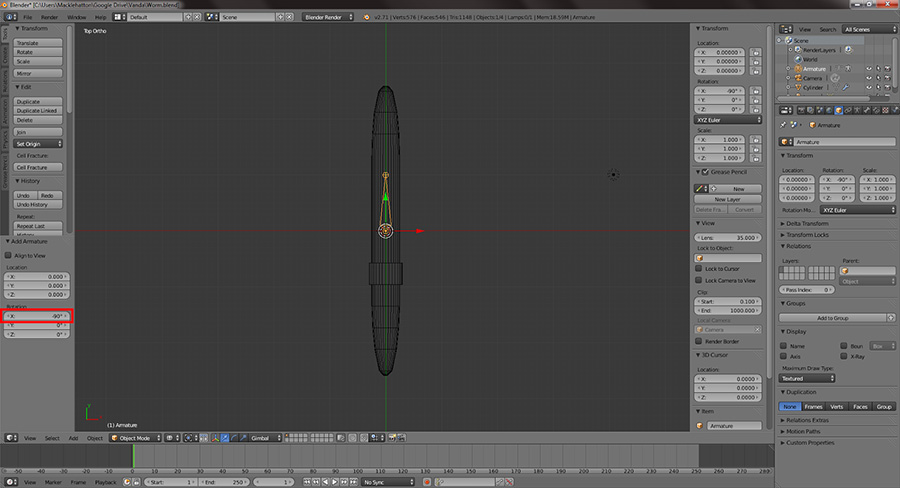
Adding a bone
With the bone selected press Tab to enter Edit mode. Move the balls on the end to opposite ends of the worm mesh.

Scaling the bone
Subdivide the bone 4 times.
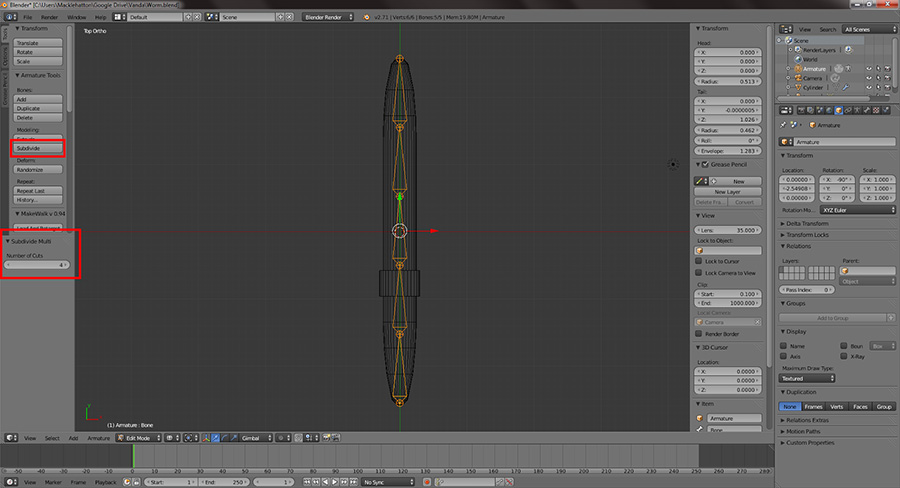
Subdividing the bone
Under Armature settings, set the display type to B-Bone. Check the X-Ray box. You will now be able to see the bones through the mesh in Solid View mode.
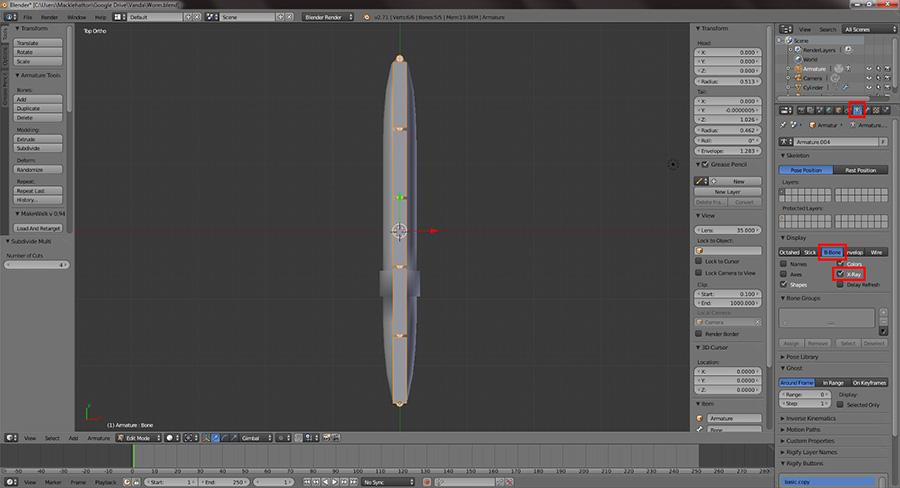
B-Bone and X-Ray display settings
Press Ctrl-Tab to enter Pose Mode. Under deform settings set curved bone to 3 for each bone.
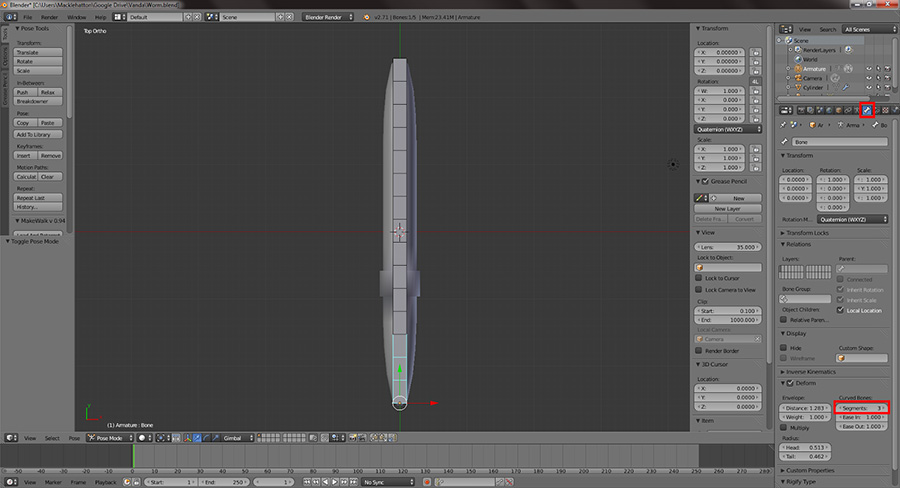
Setting curved bone segments
Enter Object Mode. Select the Mesh and then Shift select the armature. Hit Ctrl-P and select With Automatic Weights.
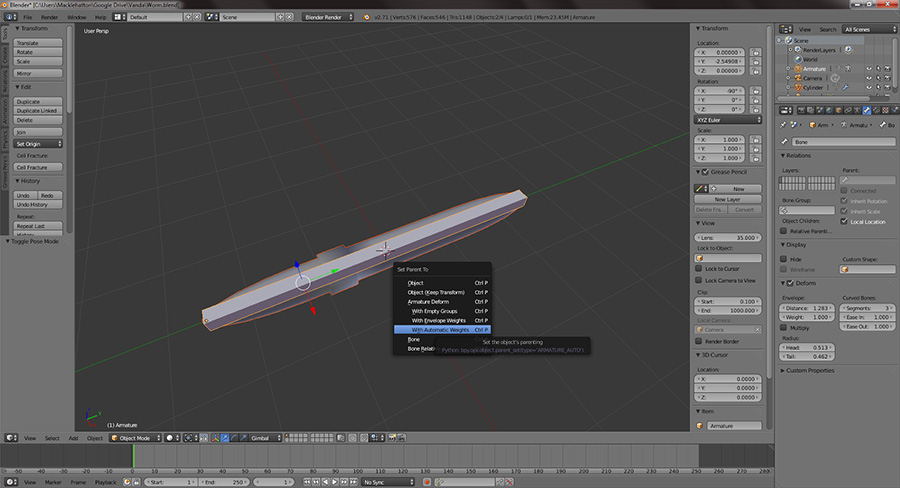
Parenting the mesh to the armature
Select the mesh and move the subdivision modifier so it’s after the armature.

Move the armature so it’s above the Subsurf modifier
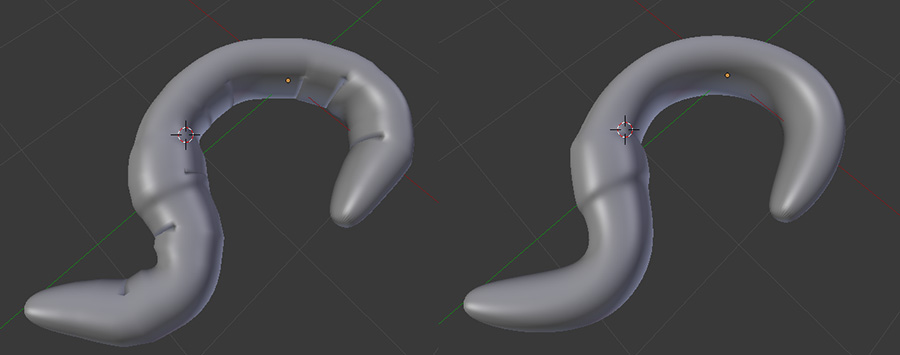
On the left is the worm with the Subsurf modifier above the armature modifier

Patrick Manhatton (macklehatton@gmail.com)
Patrick is an independent game designer interested in absolutely every aspect of making games. He does a little of everything involved in game development and a lot of conceptual design and 3d modelling. He is currently studying computer science and psychology and hopes work in research using games.
(c) copyright Zehne Ziba Co., Ltd. For more information, please refer to copyright notice.