 Vanda Engine
Now that we’ve discussed about basic audio concepts and converted our mp3 file to Ogg Vorbis file, we can insert a sound source in our level, assign .ogg file to our sound source, and play/pause/stop the sound with triggers and basic scripting.
Download and install Vanda Engine from here. Once you have everything all set, run the editor.
Creating And Inserting Sound Source
From the main menu of Vanda Engine, go to Insert | Static Sound… or click the static sound button. This will bring the Static Sound Properties dialog. For this tutorial, I’m not going to discuss about the details of advanced parameters such as Pitch, Rolloff, Reference Distance and Maximum Distance. Make sure to select “static1” name for your sound source, then hit Select button in Data section, locate your .ogg file, and press Open. Make sure that Play field if False, meaning that it won’t be played when player starts the level. Leave other parameters unchanged and press OK button to insert your first sound source into your 3D level.
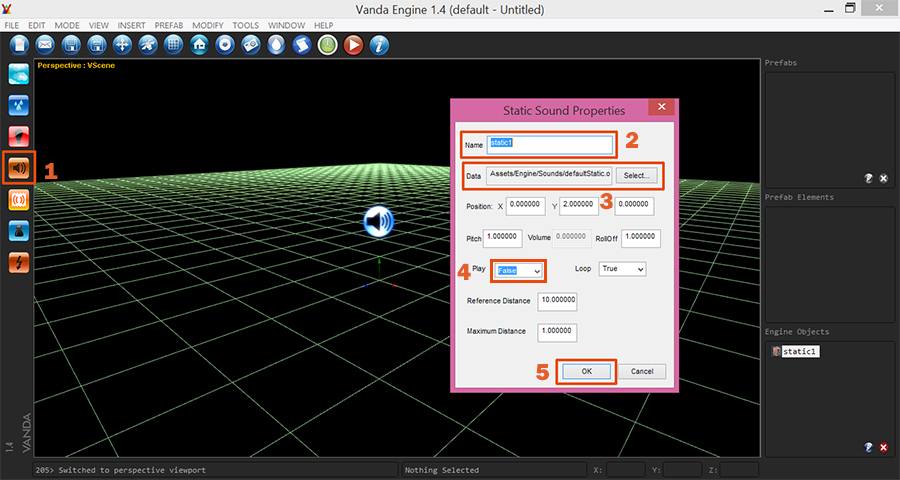
It’s important that you load only mono file (one audio channel). Otherwise, 3D sound system won’t work. To learn how to convert stereo files to Mono Ogg files, please refer to this tutorial
Triggers
Triggers are very handy tools that cause all types of things to happen in your game or real-time interactive scene. They can be used to trigger animations, load other levels, play sounds, activate cameras and so on. Vanda Engine provides enter and exit trigger events that fire whenever main character (player) enters or exits the trigger. currently, Vanda Engine lets you attach scripts to enter and exit events of each trigger, meaning that whenever the player enters or leaves the trigger, it’s associated scripts (if exist) are fired and implemented as well. In this tutorial, we use different triggers to play, stop or pause our sound source.
Our First Trigger
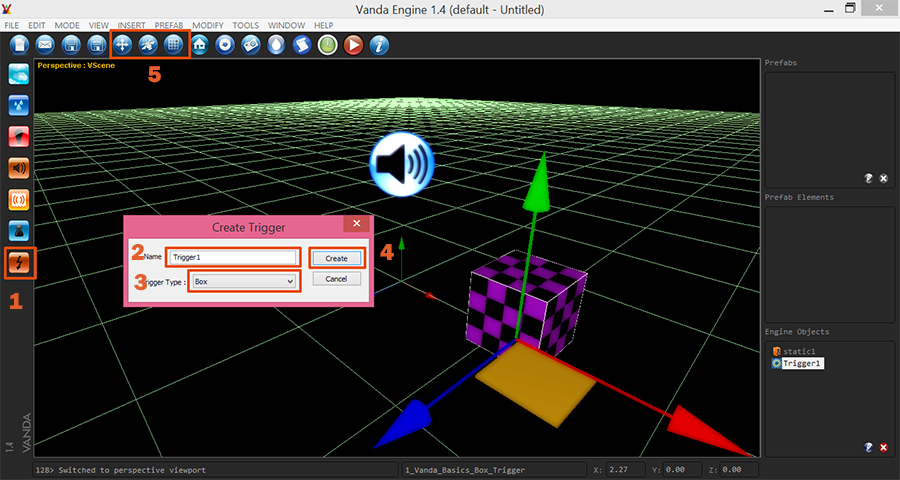
From the main menu of Vanda Engine, choose Insert | Trigger ( alternatively, you can click the Trigger button). This will bring a new dialog that lets you choose trigger name and type. Give your trigger a name and choose your desired type. After everything is set up, hit Create button to create and insert the trigger into your level. You can use transformation tools to translate/rotate/scale your trigger.
Inserting Out Character
As stated earlier, enter and exit events only work if we have a character in our level. From the main menu of Vanda Engine, go to Insert | Player menu (alternatively, you can click the Insert Player button on left side of editor). This will insert a capsule inside your level as well as a camera attach to it. Use translation tool to position the character away from trigger, so you don’t stay inside the trigger when you start your game.
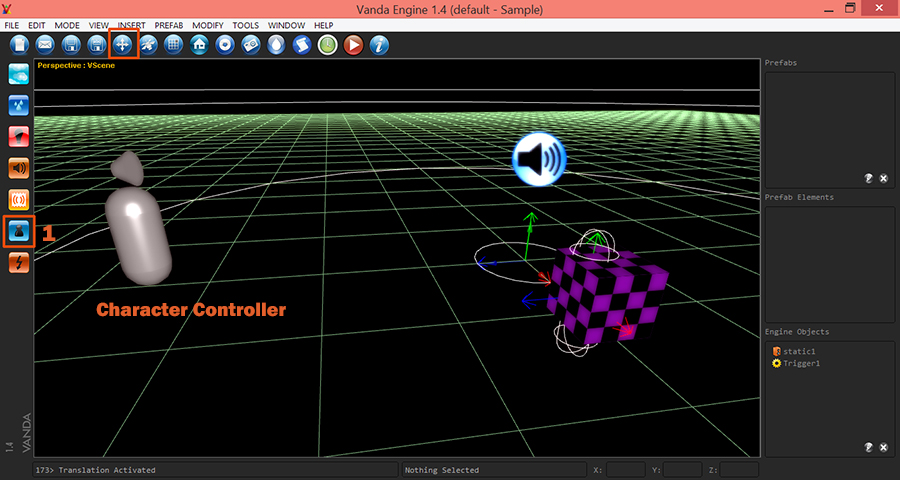
When you start your game, player stays at the position specified by this gray capsule
Now that we’ve inserted our sound source as well as our trigger and character controller, we can start writing our scripts and attach them to trigger events.
Lua Scripting Language
Vanda Engine uses Lua scripting language. To quote the official definition, Lua is a powerful, fast, lightweight, embeddable scripting language. It has been integerated with many game engines including Unreal Engine and Cry Engine.
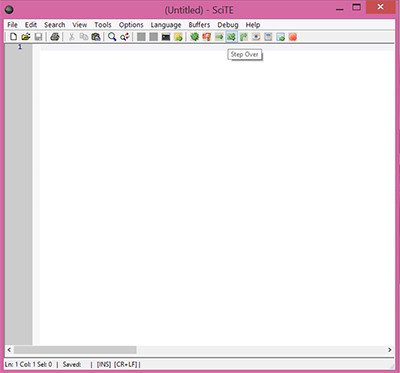
It’s always a good idea to have an IDE on hand. In this tutorial, we use the IDE that comes with the Lua package called SciTE. Please download and install the Lua package for Windows from Google Code. After installing the package, click the SciTE shortcut in order to run the IDE.
Vanda Engine has several functions built-in. In this tutorial, we use the functions that deal with Audio: PlaySoundLoop(), PlaySoundOnce(), StopSound(), and PauseSound().
As its name implies, PlaySoundLoop() playes the sounds in loop:
This function plays the sounds specified by SoundName arguments in loop. For example if you call the function PlaySound( “static1”, “static2”), Vanda Engine looks for sound source names called static1 and static2 and plays them in loop.
Play The Sound In Loop
We created a sound source called static1 in our level. So write the following script:

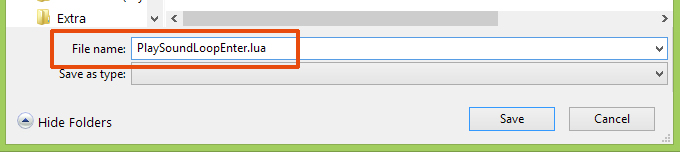
After writing your script, go to File | Save As menu, give your file a name, and click Save button.
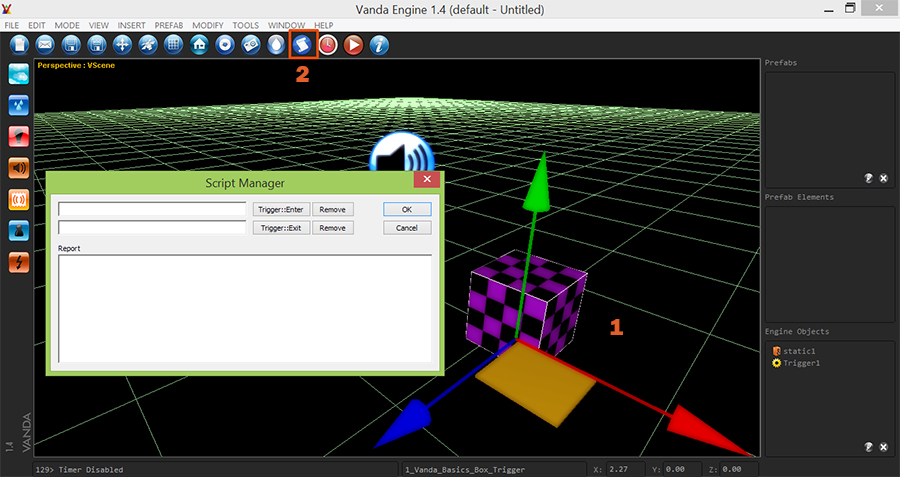
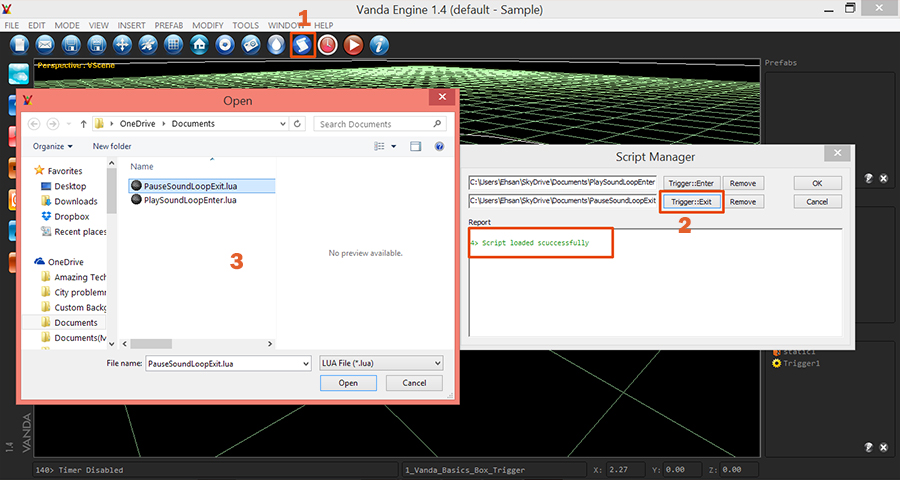
Now we are ready to assign this script to our trigger. Return back to editor of Vanda Engine, select the trigger, and click Script button.
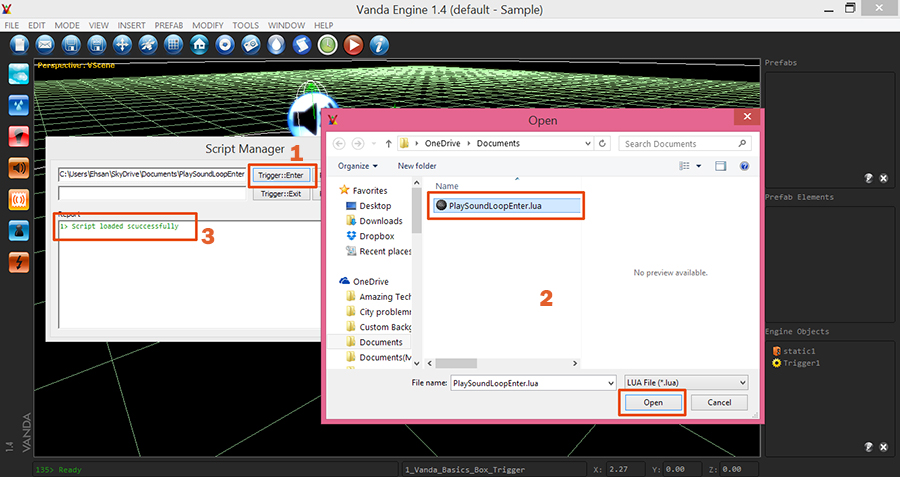
Now hit Trigger::Enter button, locate your .lua file, and press open. If everything was set up correctly, Vanda Engine reports that script loaded successfully. This will assign your script to enter event of selected trigger. If you get any errors, return back to IDE, fix the errors, and re-import your script. Finally, press OK button to close Script Manager.
Testing The Script
Triggers are invisible objects in Play mode. In order to see the triggers, we should enable physics debug mode of Vanda Engine. From the main menu, go to Modify | General PhysX Options, check Debug Mode option, and press OK.

Now press Play button to enter Play Mode and try to enter the trigger. Vanda Engine should report that Sound ‘static1.ogg’ will be played continuously, which means our script works as expected. Again press Play button to exit from Play mode.

Pause The Sound
PauseSound() pauses the sounds specified by its arguments:
For example if you call PauseSound(“static1”, “static2”), Vanda Engine looks for sounds named static1 and static2 in your level and pauses them.
Return back to SciTE IDE and write the following script to pause the sound source:

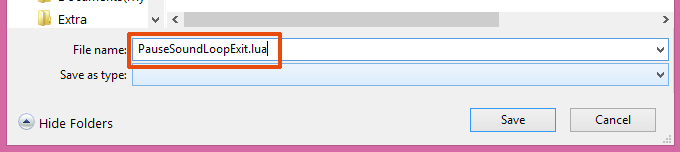
Go to File | Save menu, give your script file a name and make sure that its name is not the same as previous script name that we assigned to enter event of our trigger. Otherwise, when you save your scene, Vanda Engine will copy both script in one location which means one of them will overwrite another one. Again, make sure to add .lua extension at the end of file name.
Return back to editor of Vanda Engine, make sure that your trigger is selected, hit script manager button, and attach your script to Trigger::Exit. Finally, make sure that script was loaded successfully. Otherwise, you shoud fix the error(s) and re-import your script.
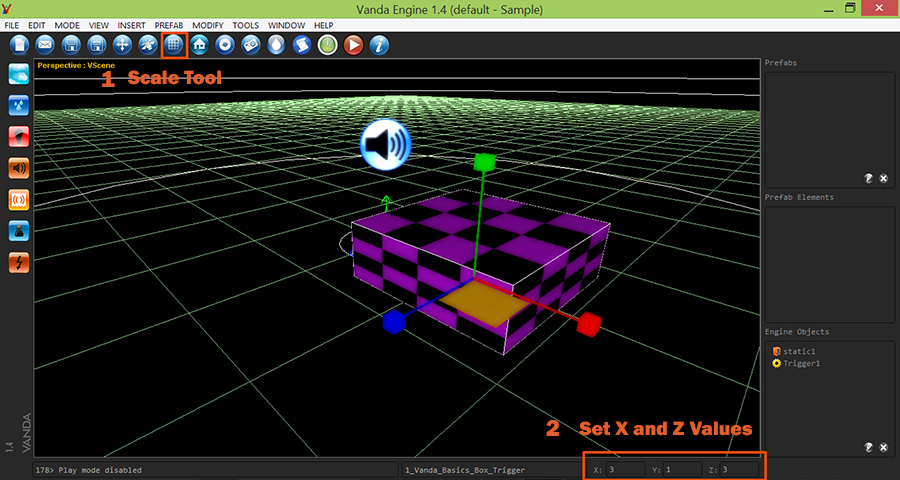
Before testing our new script, I prefer to extend the size of trigger, so I have enough room to stay inside before leaving the trigger. From the main menu of Vanda Engine, go to Edit | Scale and enter value of 3 in X and Z fields.
Testing The Script
Hit Play button to enter Play Mode. Enter the trigger, then try to leave it. As you see, when you exit from the trigger, Vanda Engine reports that Sound ‘static1.ogg’ will be paused, meaning that our new script works as expected. Hit Play button again to exit from Play Mode.
Other Sound Functions
PlaySoundOnce() plays the sound once from beginning to end. Like PlaySoundLoop(), you can pass multiple sound names to this function:
For example, PlaySoundOnce(“sound1”) plays the sound source named sound1 from its beginning to its end.
As its name implies, StopSound() stops the sounds specified by its arguments.
For example, if you call StopSound(“static1”, “static2”, “static3”), Vanda Engine looks for 3 sound sources named static1, static2, and static3 and stops them (if exist).
Exercise
Create another trigger and this time, play “static1” sound source once when entering the trigger. Then stop the sound when player exits from the trigger.
Publishing Your Level
Now it’s time to test our level in action. Because we have no visible object in our level, make sure that PhysX debug mode is enabled. Otherwise, when you start your game, triggers won’t be visible and you scene will be black. Now go to Modify | General PhysX Options and make sure that Debug Mode is checked.
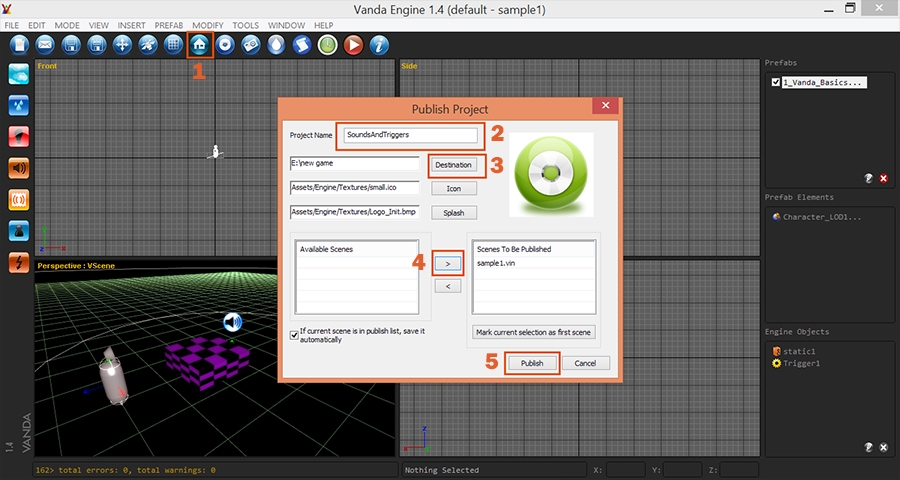
Go to File | Save menu, give your scene a name, and press OK button. Now press Publish button to start publishing your game (alternatively, you can go to File | Project | Publish… menu. This will bring a new dialog which lets you publish your game.
After publishing your project, Vanda Engine automatically opens your published game directory in Explorer. Run your game, and try to enter and exit the trigger.
(c) copyright Zehne Ziba Co., Ltd. For more information, please refer to copyright notice.